From sliding knot to magnetic clasp
Are you interested in making bracelets? In this blog we will show you how to finish your bracelets professionally using five different methods. Making bracelets with, for example, elastic thread, leather cord and jewelry wire all have their own finishing method, which you will be able to apply later.
Oh, and we will also show you how to make a practical sliding knot! Keep reading and discover our top 5 finishing methods for bracelets.
1. ELASTIC THREAD WITH A KNOT
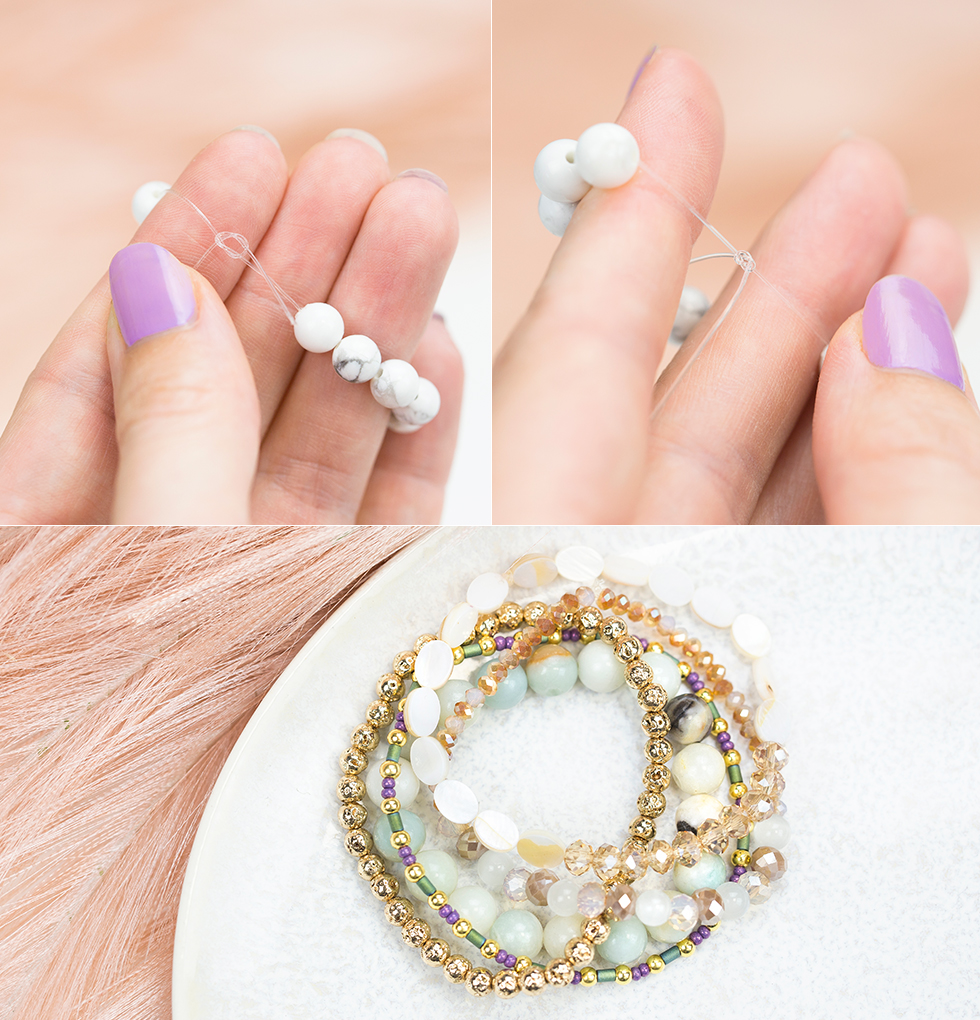
Beaded bracelets with elastic thread are quite simple but incredibly fun to make. To prevent your beads from falling off while stringing them onto the elastic thread, start off first by unwinding a piece of elastic thread from the roll. Then string your beads onto the elastic thread and finish off by cutting it. Always keep an extra length of thread for the knotted finish of your bracelet.
Next you tie 2 or 3 knots to secure the elastic thread. As the elastic thread is exceptionally smooth and slightly slippery, the knots can come loose while wearing. Therefore, apply a small amount of jewelry glue to the double or triple knot for extra strength. Before you can wear the bracelet, keep in mind that jewelry glue does need some time to dry.
Then you cut off the two ends of the knot or if the bead holes allow it, hide them in the neighboring beads for a nice finish. Your beaded bracelet with elastic thread is now ready to wear!
2. LOBSTER CLASP WITH JEWELRY WIRE
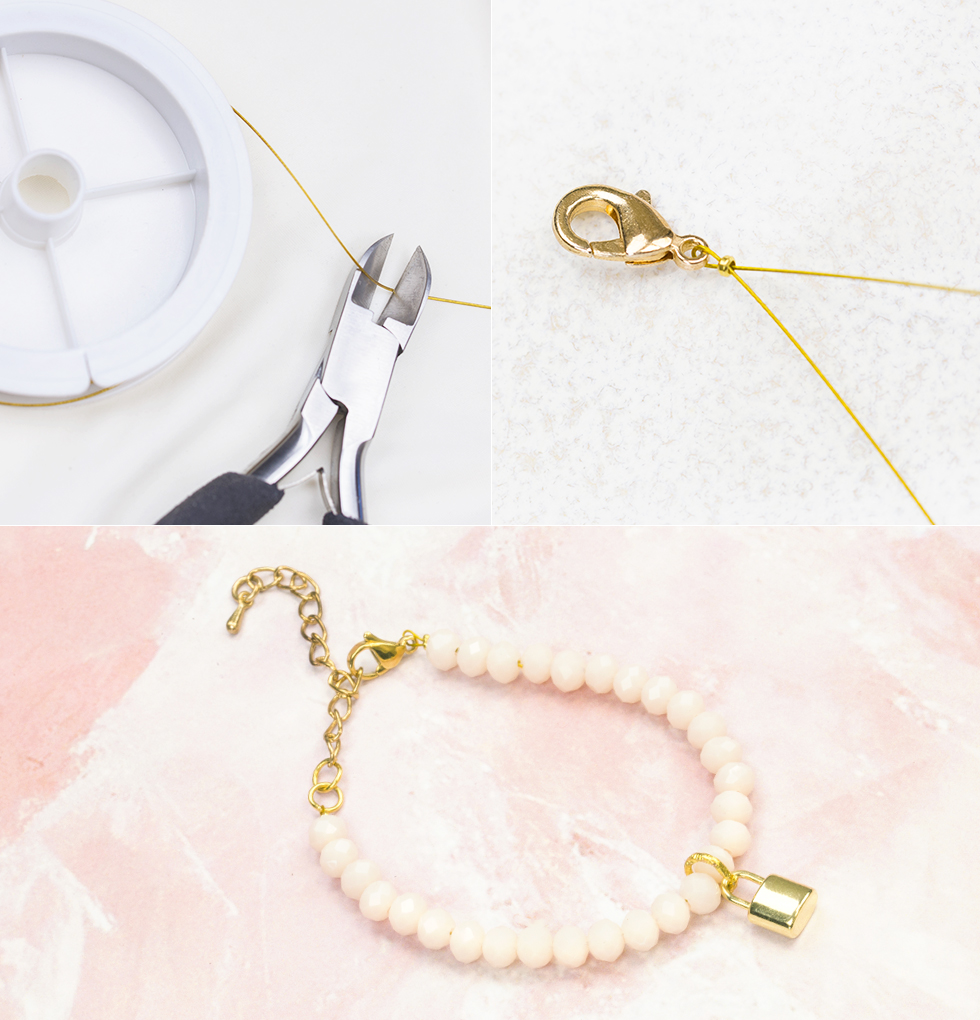
For bracelets with jewelry wire, you start off by cutting the wire to the desired length. Consider an extra length for the finish.
Begin by stringing the crimp bead onto the jewelry wire, followed by a lobster clasp. Then thread the end of the jewelry wire back through the crimp bead. This creates a loop which you pull tight until the clasp is fixed on the wire. Squeeze the crimp bead closed with flat nose pliers.
Now that the lobster clasp is secured to the jewelry wire, you can start stringing the beads. Thread the first beads over the double part of the wire, cut the remainder of one end and hide it in the neighboring beads.
After you have finished stringing, repeat the steps from above and replace the lobster clasp with a jump ring. For a professional look, hide the crimp beads nicely using crimp bead covers. Place the cover over the crimp bead and then gently squeeze it closed with flat nose pliers. The bracelet can then be closed by connecting the lobster clasp to the jump ring.
Would you like to read more about finishing your jewelry beautifully? Read our blog 'How to attach a jewelry clasp' in which we explain 3 different methods for attaching a lobster clasp.
3. SLIDING KNOT USING CORD
Making a sliding knot with your cord bracelet may seem a bit tricky. However, once you get the hang of the technique, it will be little more than a routine when making your bracelets. You can make knotted bracelets with several types of cord. Waxed cord, satin cord and nylon cord are fine materials to work with.
In this section we focus specifically on the sliding knot, so let us get started with this right away. Lay the two ends of your cord on top of each other so that they form a circle. Then unroll a new piece of cord (the same as the bracelet) and cut off ca 20 cm. Place this new piece of cord vertically under the bracelet and tie it into a knot. Rotate your bracelet a quarter turn to make the sliding knot easier to work with. To make sure your bracelet stays in place, use our macrame board and fasten the two ends of the cords into the notches.
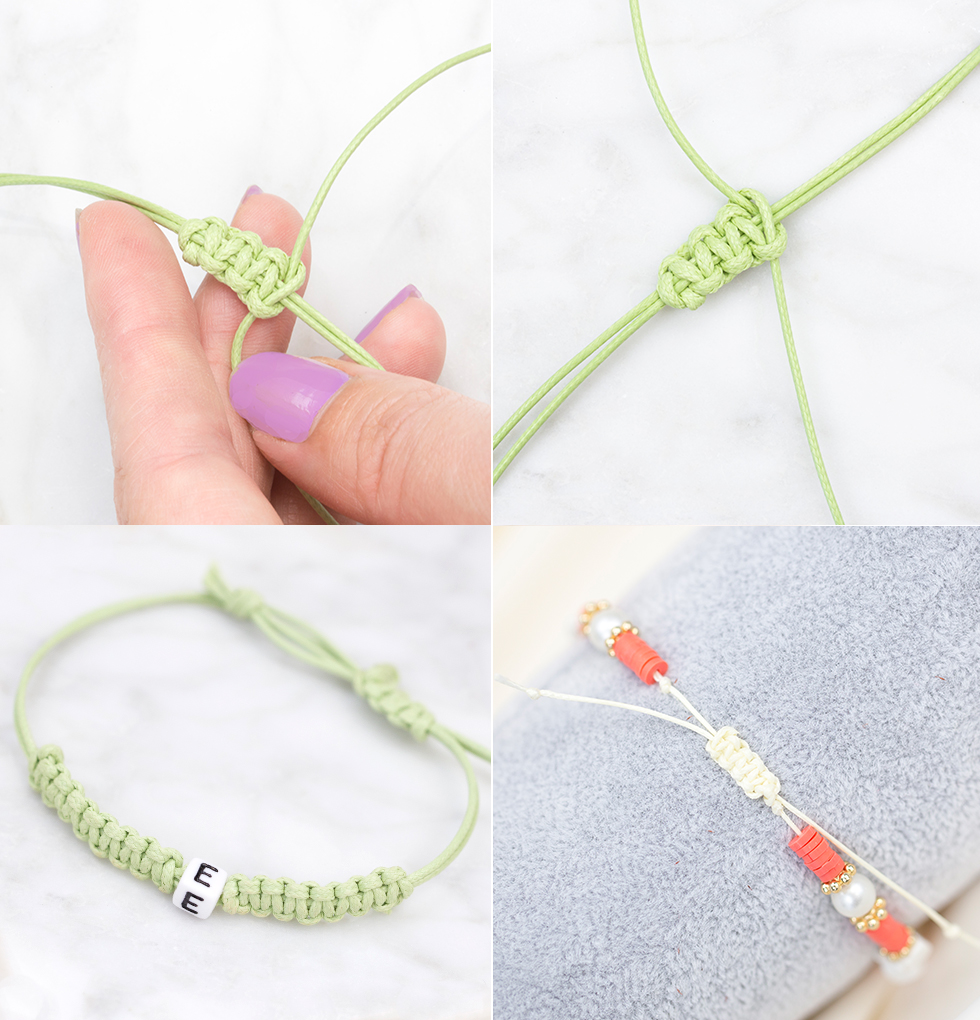
Now form a loop with one end of the cord, thread the other cord through it and pull both cords tight, so that a kind of knot is formed. Repeat this step with the loop on the other side but work in the opposite direction. You repeat this technique until your sliding knot is large enough. Once you are done with it, tie a simple knot with both loop ends and pull it tight. Add some jewelry glue onto it so that the last knot cannot come loose. You can then cut the remaining cord ends with side cutters.
The ends of the cord are now tied in a knot, one on each side of the sliding knot. Cut off the remaining ends and your bracelet is nicely finished. By following these steps, you can easily make a sliding knot using cord yourself.
4. MAGNETIC CLASP ON LEATHER CORD
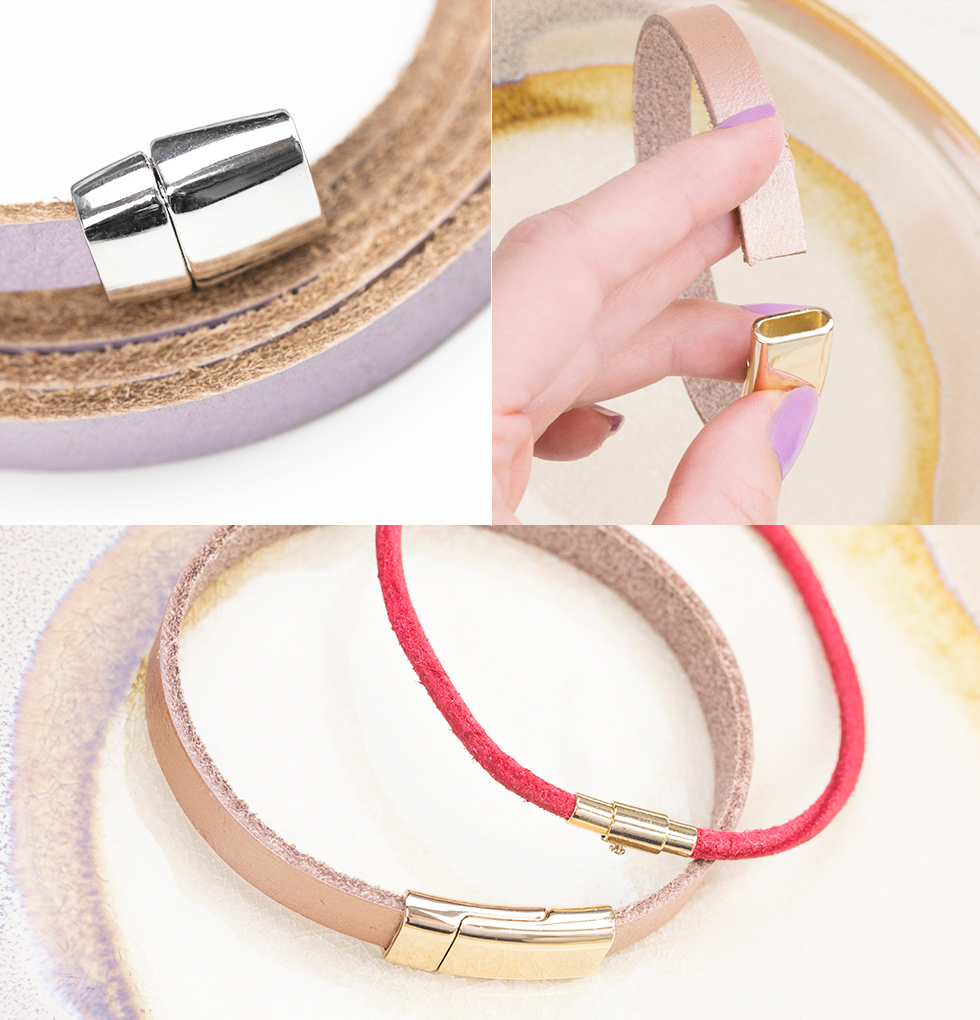
Would you like to make leather bracelets yourself? For this you need a nice magnetic clasp that fits your leather cord or strap. In our range we have an extensive selection of magnetic clasps, especially for round leather cords and flat leather straps.
Our smallest magnetic clasp starts with an inner diameter size of approx. 3 mm. This is of course quite small and is therefore suitable for our round leather cords of 3 mm. The largest magnetic clasp has an inner diameter size of 10 mm and is suitable for our 8 mm braided leather cord. Tip: Due to the braided structure the 8 mm magnetic clasp is not suited for this leather cord, therefore we recommend a 10 mm magnetic clasp.
You can also find suitable magnetic clasps for our flat leather straps. The sizes which we specify in the product information for the leather straps correspond to the internal dimensions of our magnetic clasps. In our range we offer magnetic clasps in assorted colors, sizes, and types.
Attaching a magnetic clasp to a leather cord or strap is extremely easy. Put a small amount of jewelry glue on the inside of the magnetic clasp and insert the end of the leather cord or strap into the clasp. If necessary, press firmly and leave to dry for a few hours. Repeat this step for the other end and your leather bracelet is ready to wear.
5. TOGGLE CLASP
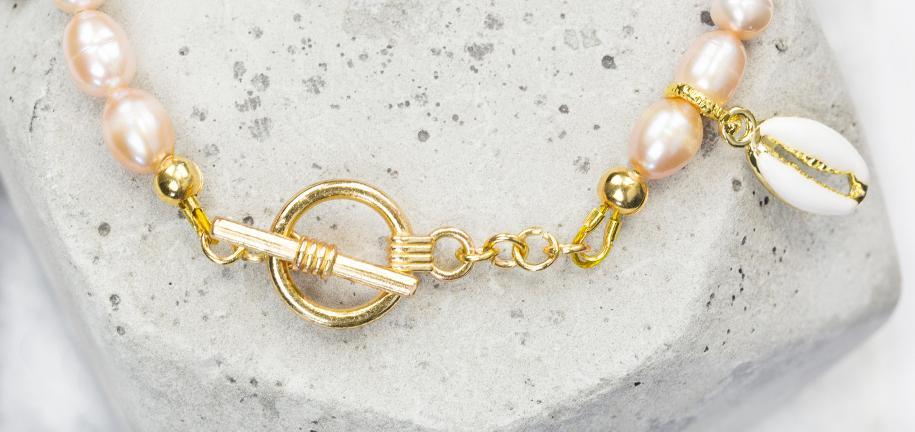
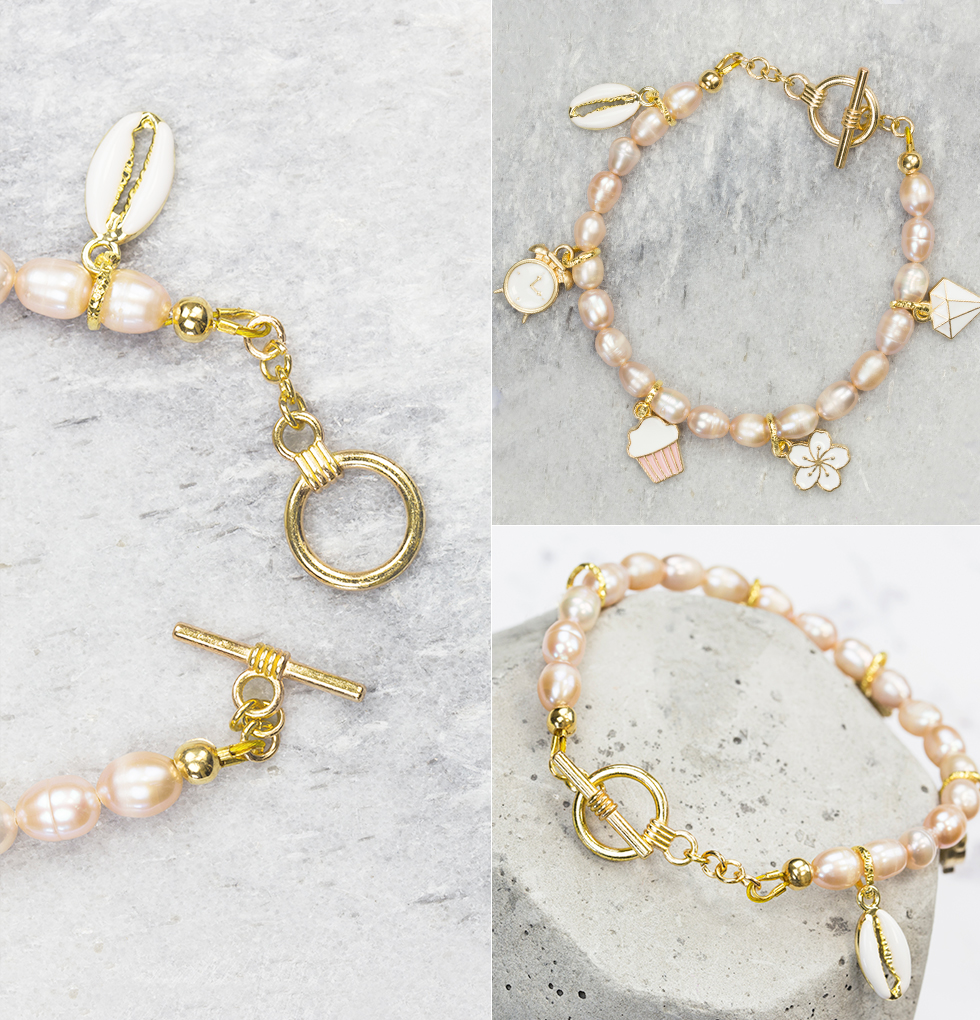
As mentioned earlier, a lobster clasp is well suited for bracelets with jewelry wire. A nice alternative to a lobster clasp is a toggle clasp.
Repeat the same steps as explained in section 2. Lobster clasp with jewelry wire. However instead of the lobster clasp use a toggle clasp.
and jump rings - you can make a stunning bracelet in no time. Within our range you will find several types of rolo chains with small and large links from which you can choose. Cut the desired length of the rolo chain with side cutters.
A toggle clasp consists of two parts: the bar and the ring. To attach a toggle clasp to your rolo chain, open the jump rings and connect them to the two parts of the toggle clasp. The jump rings are then attached to the respective ends of your rolo chain.
Would you like to make a charm bracelet? Choose your favorite charms and attach them to your rolo chain using jump rings. You can also make your own charms by stringing beads onto head pins and attaching them to your bracelet.
MAKING BRACELETS
We have now given you a clear overview of different beautiful and professional finishing methods for bracelets. Are you still not sure if making bracelets is for you? Or do you want to find out even more about it? Read all about making bracelets here with examples and inspiration and start your own bracelet project today!

